React forms
Learn how to build dynamic interactions using form elements in React
- js
- react
- forms
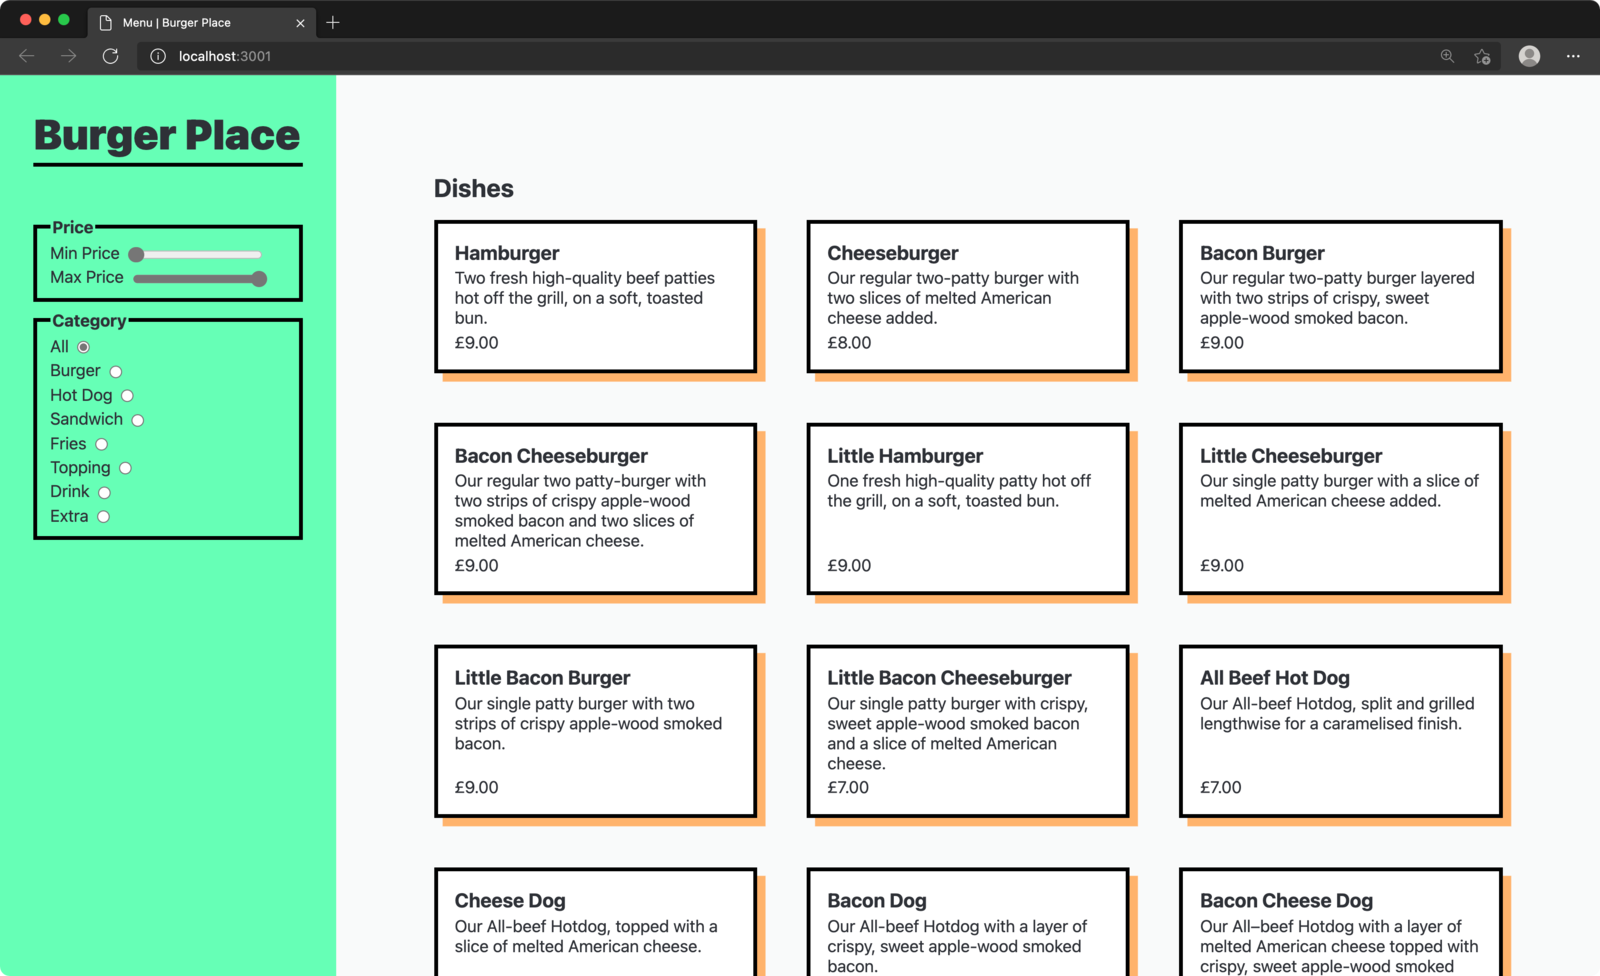
We’re going to build a simplified food delivery menu page. It’ll have a list of dishes plus a form to filter them. The final result should look something like this:
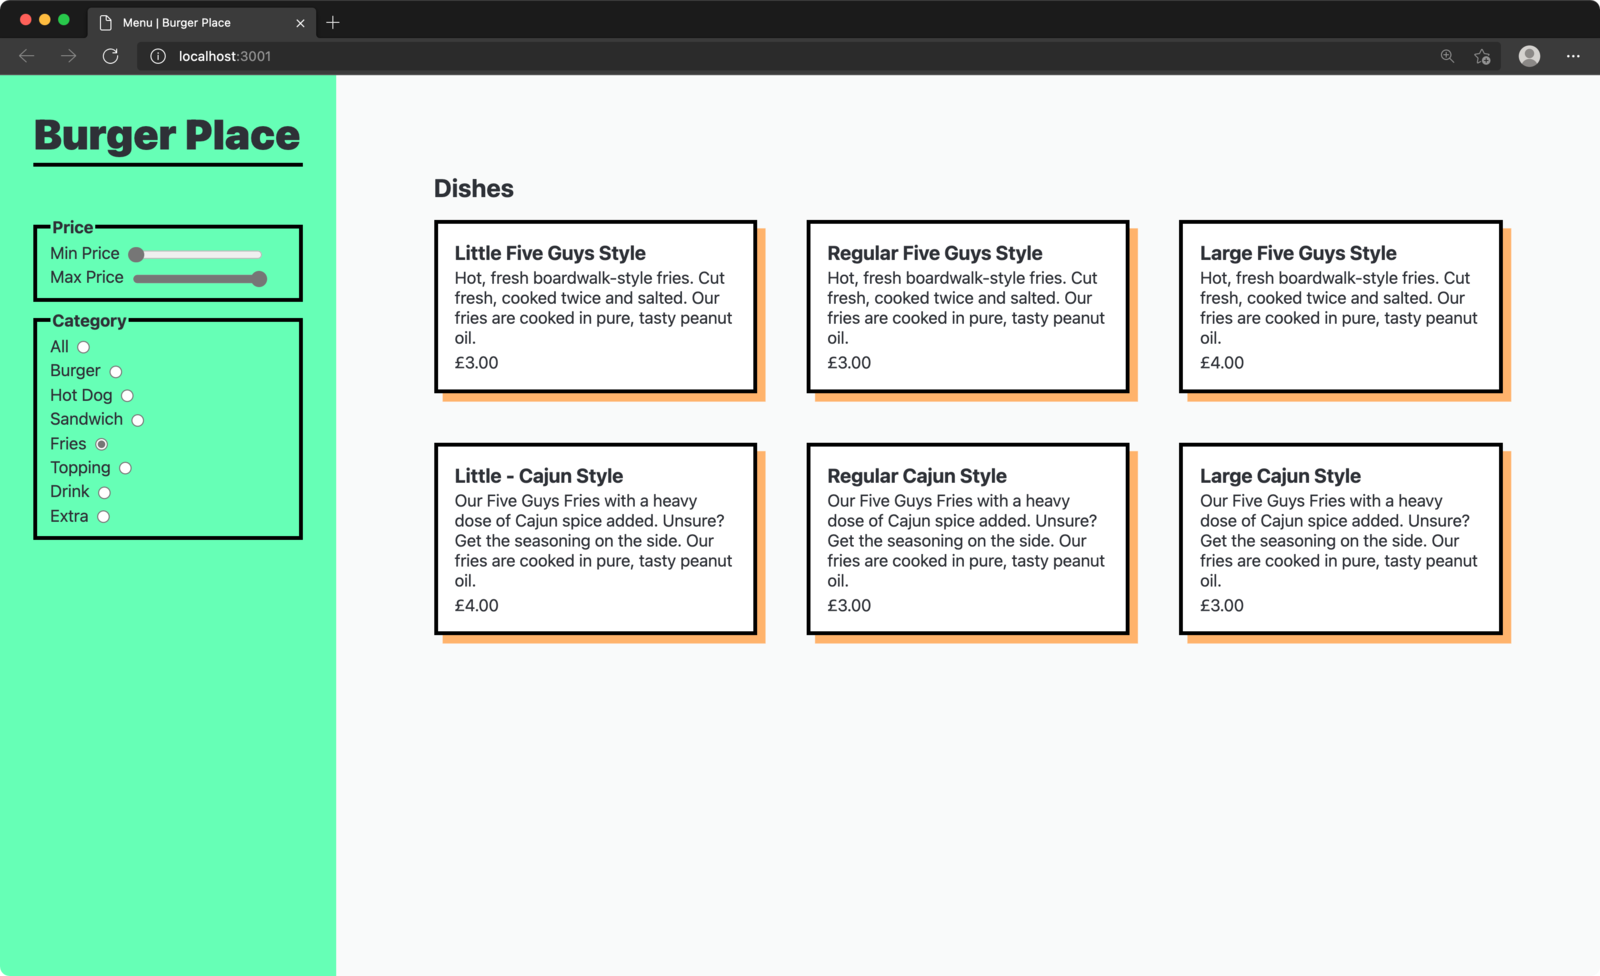
Don’t worry, we’ll work our way there step by step.
Part 1: Project setup
- Download starter files and
cdin - Run
npm install - Run
npm run devto start the dev server
Since React uses non-standard syntax (JSX) it requires some processing before it can run in the browser. We’ll use Vite for this. Vite also provides a nice dev server that will auto-reload when you change files.
Since JSX is non-standard JavaScript Vite requires you to use the .jsx extension for any files including that syntax.
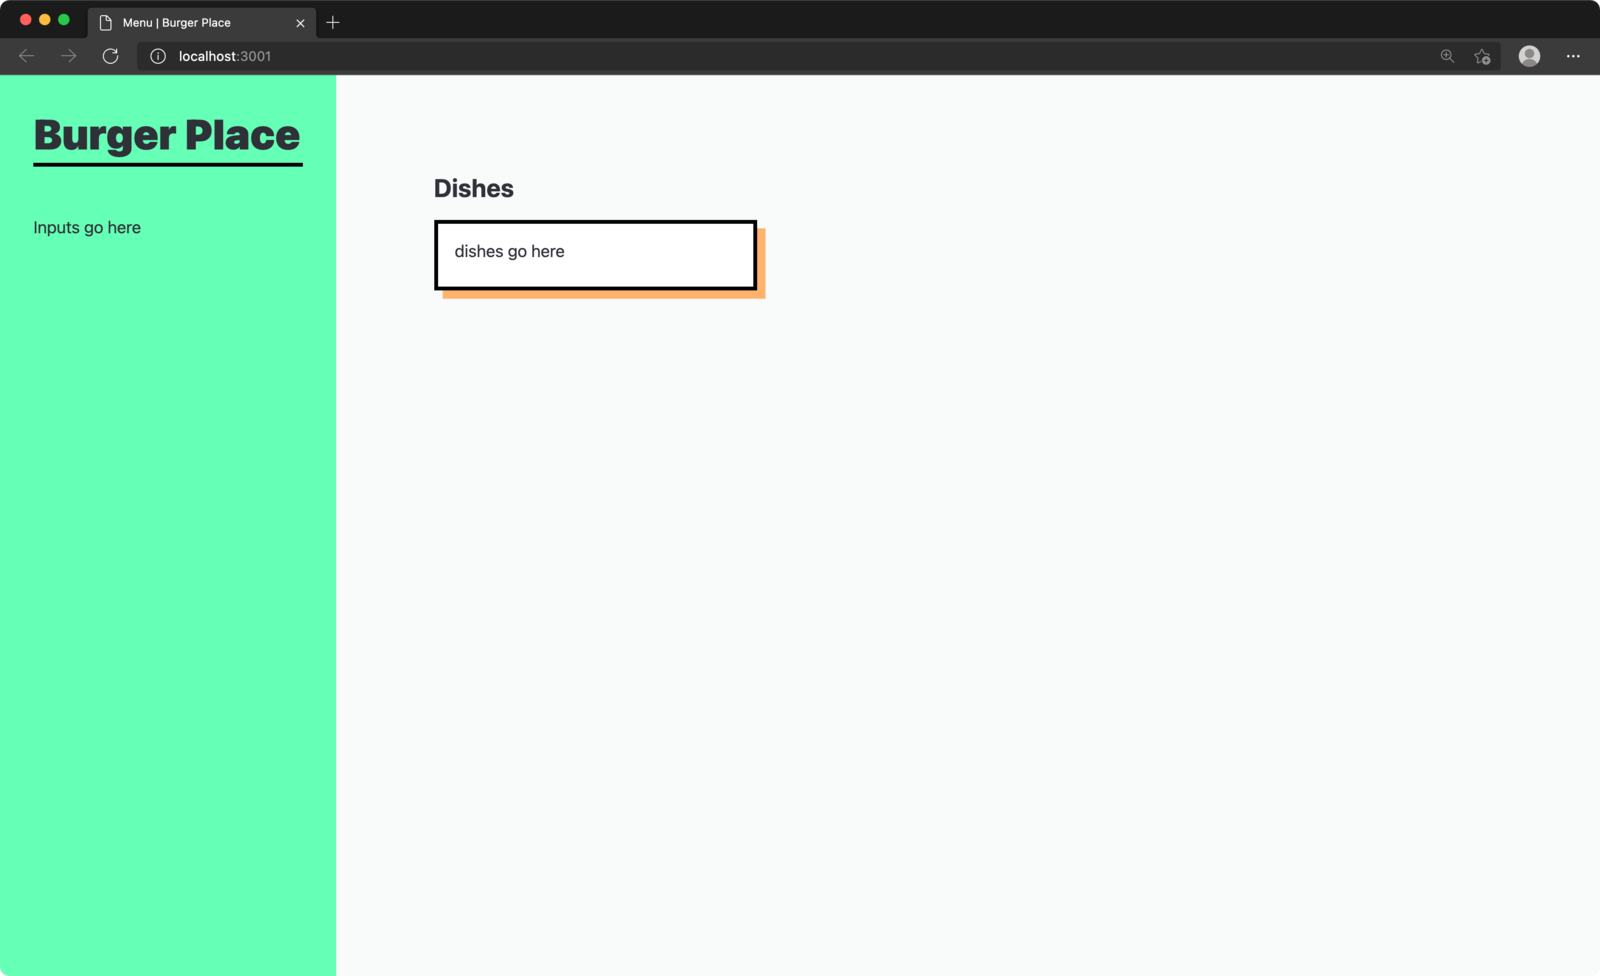
Open workshop/index.jsx in your editor. This is where we render our React app to the DOM. You can see that we have a top-level component named App. Open App.jsx to see what’s currently being rendered.
Part 2: Render a list
JSX supports multiple child elements like this:
function App() {
  return (
    <ul>
      <li>Apple</li>
      <li>Orange</li>
      <li>Banana</li>
    </ul>
  );
}
This is the same as listing those child elements in an array, like this:
function App() {
  return <ul>{[<li>Apple</li>, <li>Orange</li>, <li>Banana</li>]}</ul>;
}
This isn’t very ergonomic to write by hand, but it comes in handy when you need to render a dynamic list. We can generate an array from some data and render it:
function App() {
  const fruits = ["Apple", "Orange", "Banana"];
  const fruitList = fruits.map((fruit) => <li key={fruit}>{fruit}</li>);
  return <ul>{fruitList}</ul>;
}
It’s common to inline the .map() (although using a separate named variable is fine if you find it clearer):
function App() {
  const fruits = ["Apple", "Orange", "Banana"];
  return (
    <ul>
      {fruits.map((fruit) => (
        <li key={fruit}>{fruit}</li>
      ))}
    </ul>
  );
}
We’re passing a special prop called key to the top-level element in our array. This allows React to keep track of where each element is so it doesn’t mess up the order. key should be unique and not change when the array order does. React will warn you if you forget this.
Task
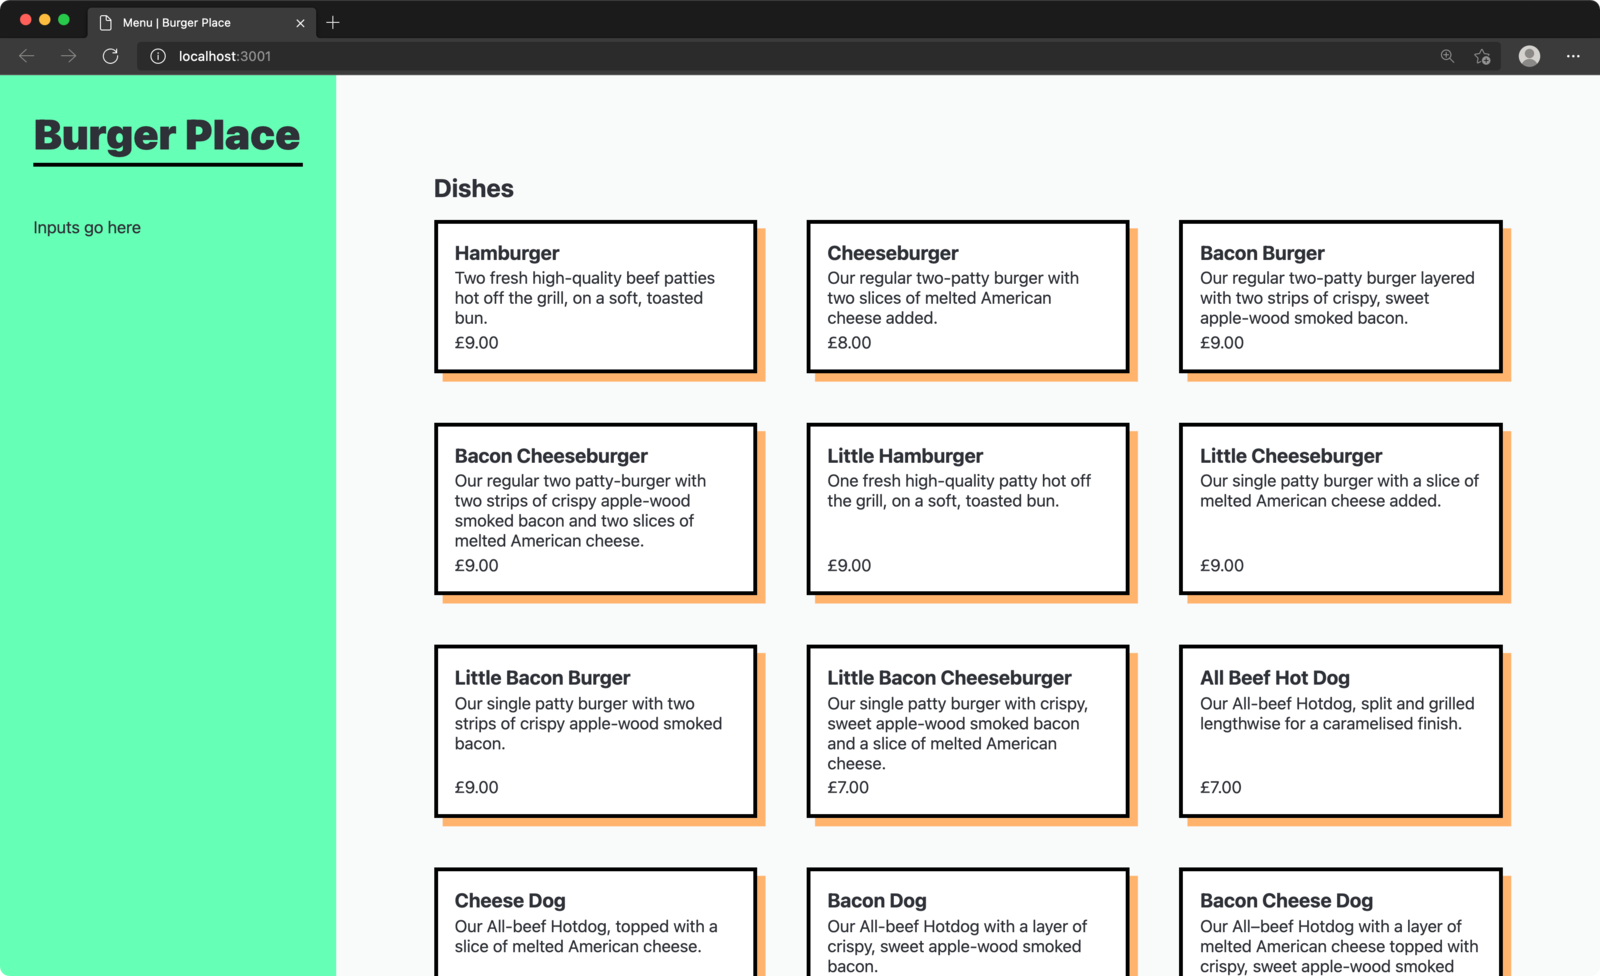
Uncomment the line importing "../data.js". This is an array of objects, each representing a dish in our restaurant. Use .map to render all of them to the page inside the ul.
Take a look at what data you have available for each dish and try to render it all. You should end up with something like this:
Toggle answer
<ul className="grid">
  {dishes.map((dish) => (
    <li key={dish.id} className="card">
      <h3>{dish.name}</h3>
      <p>{dish.description}</p>
      <div>£{dish.price.toFixed(2)}</div>
    </li>
  ))}
</ul>
Part 3: Create price inputs
We want to be able to filter the list of dishes by minimum and maximum price. To do this we’ll need to create two range inputs.
It can be a good idea to group and label related elements using the fieldset element.
<fieldset>
  <legend>Price</legend>
  <label htmlFor="min-price">
    Min price
    <input type="range" id="min-price" min="0.5" max="9" step="0.25" />
  </label>
  // ...
</fieldset>
Range inputs support constraining their values with the min/max/step attributes.
If we want these inputs to filter the list of dishes we’ll need some state they can both use. For example we can create a state value called min that we update whenever the range input changes. Later we will be able to use the same min value to filter the dishes. By sharing the state value they’ll always be in-sync.
function App() {
  const [min, setMin] = React.useState(0);
  return (
    // ...
    <fieldset>
      <legend>Price</legend>
      <label htmlFor="min-price">
        Min price
        <input
          type="range"
          id="min-price"
          min="0.5"
          max="9"
          step="0.25"
          value={min}
          onChange={(event) => setMin(event.target.value)}
        />
      </label>
      // ...
  );
}
An input with both the value and onChange props set like this is called a “controlled component”. Our JS state is the source of truth, not the DOM element. Each time the user changes the input on the page we update our state, then that state updates the value of the input.
Add the second range input for the maximum price. You’ll need another state variable to control the input’s value.
You should end up with something like this:

Toggle answer
function App() {
  const [min, setMin] = React.useState(0);
  const [max, setMax] = React.useState(9);
  return (
    // ...
    <fieldset>
      <legend>Price</legend>
      <label htmlFor="min-price">
        Min price
        <input
          type="range"
          id="min-price"
          min="0.5"
          max="9"
          step="0.25"
          value={min}
          onChange={(event) => setMin(event.target.value)}
        />
      </label>
      <label htmlFor="max-price">
        Max price
        <input
          type="range"
          id="max-price"
          min="0.5"
          max="9"
          step="0.25"
          value={max}
          onChange={(event) => setMax(event.target.value)}
        />
      </label>
    </fieldset>
    // ...
  );
}
Part 4: Filter list by price
Now we need to filter our dish list based on the price state.
Hint: remember our list is a normal JavaScript array. You can manipulate it using any of the array methods you’re used to.
You should have something like this:
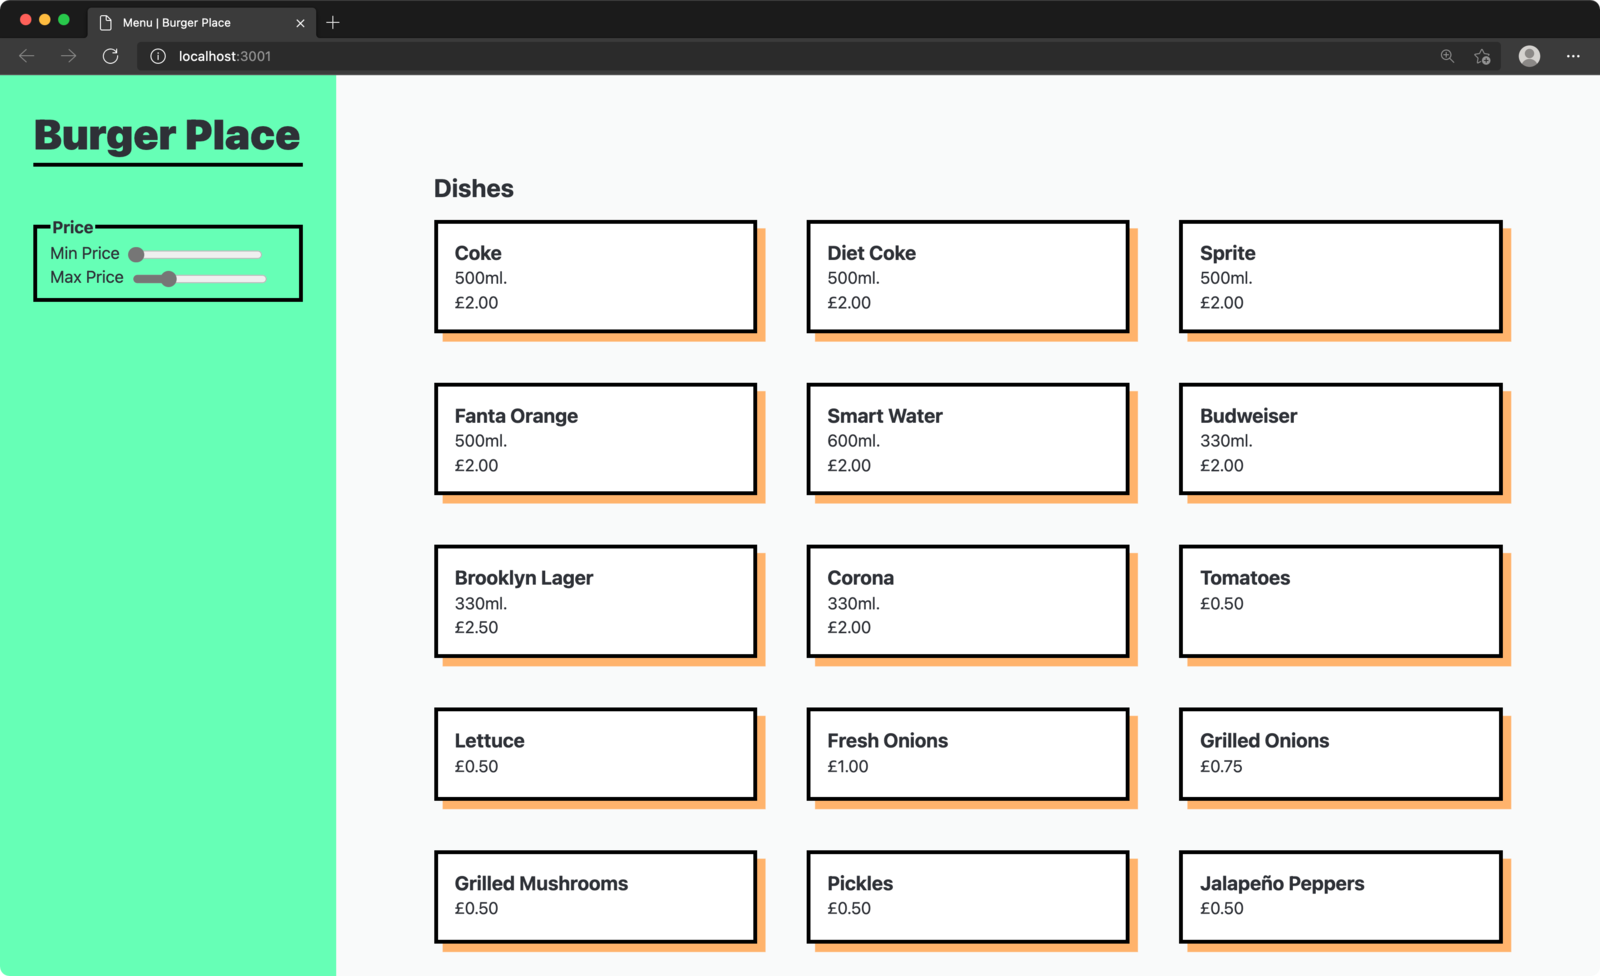
Toggle answer
<ul className="grid">
  {dishes
    .filter((dish) => dish.price >= min && dish.price <= max)
    .map((dish) => (
      <li key={dish.id} className="card">
        <h3>{dish.name}</h3>
        {dish.description && <p>{dish.description}</p>}
        <div>£{dish.price.toFixed(2)}</div>
      </li>
    ))}
</ul>
Part 5: Modularise your components
Our App component is starting to get a bit unwieldy. We’ve got a single function containing all our state, plus two totally separate sections of the page. Let’s try splitting it up into a couple of smaller components.
Create two new files: DishList.jsx and PriceFilter.jsx. DishList.jsx should contain the <ul> of dishes; PriceFilter.jsx should contain the fieldset with the range inputs.
Remember these components need to share the same state. This means we can’t define it down in each child component—the state needs to live in their shared parent (App) and be passed down to each child via props.
You might want to review the section on setting props from the earlier workshop.
Toggle answer
// App.jsx

import React from "react";
import PriceFilter from "./components/PriceFilter";
import DishList from "./components/DishList";

function App() {
  const [min, setMin] = React.useState(0);
  const [max, setMax] = React.useState(9);
  return (
    <main>
      <section className="filters">
        <h1>Burger Place</h1>
        <form>
          <PriceFilter min={min} setMin={setMin} max={max} setMax={setMax} />
        </form>
      </section>
      <section className="dishes">
        <h2>Dishes</h2>
        <DishList min={min} max={max} />
      </section>
    </main>
  );
}

export default App;
// DishList.jsx
import React from "react";
function DishList(props) {
return (
<ul className="grid">
{dishes
.filter((dish) => dish.price >= props.min && dish.price <= props.max)
.map((dish) => (
<li key={dish.id} className="card">
<h3>{dish.name}</h3>
{dish.description && <p>{dish.description}</p>}
<div>£{dish.price.toFixed(2)}</div>
</li>
))}
</ul>
);
}
export default DishList;// PriceFilter.jsx
import React from "react";
function PriceFilter(props) {
return (
<fieldset>
<legend>Price</legend>
<label htmlFor="min-price">
Min price
<input
type="range"
id="min-price"
min="0.5"
max="9"
step="0.25"
value={props.min}
onChange={(event) => props.setMin(event.target.value)}
/>
</label>
<label htmlFor="max-price">
Max price
<input
type="range"
id="max-price"
min="0.5"
max="9"
step="0.25"
value={props.max}
onChange={(event) => props.setMax(event.target.value)}
/>
</label>
</fieldset>
);
}
export default PriceFilter;Part 6: Create radio group
We also want to filter our dishes by category. This is a good use-case for a group of radio inputs, since the categories are mutually exclusive.
Create a new file called CategoryFilter.jsx and make a new component in it. We need a radio input for each category.
You’ll also need to create a state value to keep track of which radio is selected. Since this state will be needed to filter the DishList component it will need to live in their shared parent (App) and be passed down as a prop (just like the min/max state).
You can use the checked prop to determine which radio should be checked, based on the current state value. Here’s an example:
<label htmlFor="burger">
  Burger
  <input
    type="radio"
    name="categories"
    id="burger"
    value="burger"
    checked={someStateVar === "burger"}
    onChange={(event) => setSomeStateVar(event.target.value)}
  />
</label>
You should end up with something like this:
Toggle answer
// App.js

// ...

function App() {
  // ...
  const [category, setCategory] = React.useState("burger");
  return (
    // ...
    <CategoryFilter category={category} setCategory={setCategory} />
    // ...
  );
}
// CategoryFilter.jsx
function CategoryFilter(props) {
return (
<fieldset>
<legend>Categories</legend>
<label htmlFor="burger">
Burger
<input
type="radio"
name="categories"
id="burger"
value="burger"
checked={props.category === "burger"}
onChange={(event) => props.setCategory(event.target.value)}
/>
</label>
// ... all the other radios
</fieldset>
);
}
export default CategoryFilter;Part 7: Filter list by category
Now we need to filter our list by category as well as the existing price filters. Use your category state value to filter the array in DishList. Make sure you keep the price filter working.
If everything is hooked up correctly you should see something like this 🎉
Toggle answer
// App.js

// ...

function App() {
  // ...
  const [category, setCategory] = React.useState("burger");
  return (
    // ...
    <DishList min={min} max={max} category={category} />
    // ...
  );
}<ul className="grid">
{dishes
.filter((dish) => dish.category === props.category)
.filter((dish) => dish.price >= props.min && dish.props.price <= max)
.map((dish) => {
// ...
})}
</ul>Stretch goals
- Add a default “All” option to the category filter
- Add a text input that lets users search for dishes by title
- Make it look even better 💅